This page is an extension of Take Payment in Experience Cloud Using Flow and assumes that you have already followed the instructions therein to create and configure a Take Payment Flow. This page will help you extend your flow’s functionality to unauthenticated Guest Users, allowing any visitor to make payments on your Experience Cloud site.
Before you begin, ensure you understand the implications of enabling unauthenticated Guest Users to make payments on your Experience Cloud site, specifically in relation to card testing fraud (aka carding or card cracking). We recommend that you work with your gateway provider to ensure protections are in place. Additionally, see Salesforce’s documentation, Securely Share Your Experience Cloud Sites with Guest Users.
Update Your Take Payment Flow #
Configure Your Flow to Run as System Context Without Sharing
- Click the gear icon
 and select Setup.
 - In the Quick Find, search for and select Flows.
- Select your Take Payment Flow (created via Take Payment in Experience Cloud Using Flow).
- In the Flow Builder, click View Properties (the gear icon ).
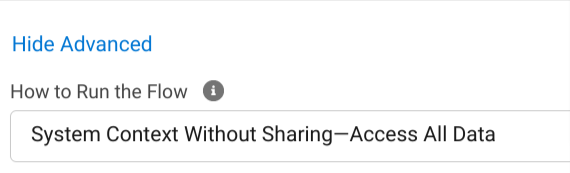
- Click Show Advanced.
- Find the How to Run the Flow dropdown and select System Context Without Sharing – Access All Data.
- Save and Activate your flow.
Edit Your Flow Access Settings
- Click the gear icon and select Setup.
- In the Quick Find, search for and select Flows.
- Locate your Take Payment Flow and select Edit Access using the dropdown arrow to the right.
- Select the checkbox labeled Override default behavior and restrict access to enabled profiles or permission sets.
- Click Save.
Update Your Experience Cloud Site #
Set Page Access to Public
- Click the gear icon
 and select Setup.
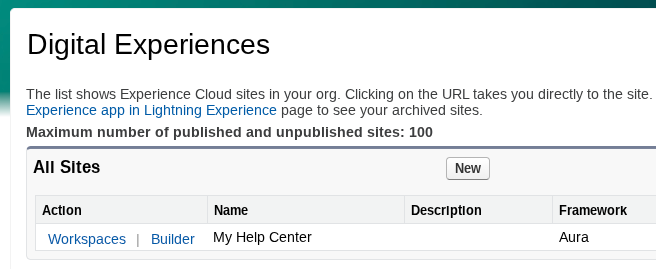
 - Using Quick Find, search for and select All Sites.
- Find your Experience Cloud site in the list and click Builder.
- Click the dropdown in the top left (initially set to “Home”).
- In the list, find and select the page with your Take Payment Flow.
- On the top left, click on the Page Properties gear icon .
- Set Page Access to Public.
- Note: If your site-wide access level is set to Public, this will be selected automatically.
- In the top right, click Publish to save your changes.
Update Your Site Guest User Permissions #
Update the Site Guest User’s Public Access Settings
- Click the gear icon and select Setup.
- In the Quick Find box, search for and select Sites.
- Click your site’s name under Site Label.
- Click Public Access Settings.
- Click the Enabled Flow Access link at the top.
- Click Edit.
- Choose your Take Payment Flow from the Available Flows column and add it to the Enabled Flows column.
- Click Save.
Update the Site Guest User’s Permissions
- Click the gear icon and select Setup.
- In the Quick Find box, search for and select Sites.
- Click your site’s name under Site Label.
- Click Public Access Settings.
- Click View Users.
- Click the Site Guest User’s name.
- Under Permission Set Group Assignments, click Edit Assignments.
- Select ‘Chargent Guest User’ and click Add.
- Click Save.
Update Your Sharing Settings #
Create a Gateway Sharing Rule
- Click the gear icon and select Setup.
- In the Quick Find box, search for and select Sharing Settings.
- Under Gateway Sharing Rules, click New.
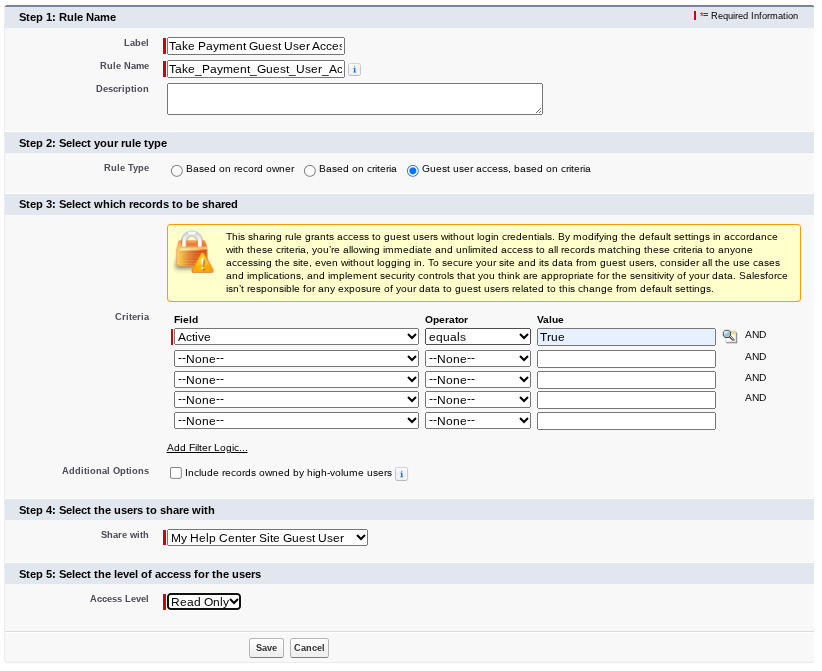
- Enter the following information:
- Label: Take Payment Guest User Access
- Rule Name: Take_Payment_Guest_User_Access
- Rule Type: Guest User Access, based on criteria
- Criteria: Active equals True
- Share with: Select your Site Guest User
- Access Level: Read Only
- Click Save
Considerations #
- Ensure that you test your transactions as a Site Guest User. Open a browser tab in incognito mode and test multiple transactions, successful and unsuccessful. For more information, see Testing Chargent.
- Chargent Payment Method records will be created by (but not owned by) the Site Guest User. This means that guests to your Experience Cloud site cannot access saved Payment Methods and must enter their payment information for each transaction.
See Also
Take Payment in Experience Cloud
Take Payment in Experience Cloud Using Flow
Security and PCI Compliance

