Integrating Network Merchants NMI and Salesforce using Chargent

Connect Network Merchants NMI and Salesforce with Chargent
See all Network Merchants NMI transactions, manage refunds, send payment links and more, all inside Salesforce with Chargent, the top rated payments app on the Salesforce AppExchange.
Not yet a Chargent customer?
Contact us for a no-obligation 30 day trial, and see for yourself!
Overview
Network Merchants Incorporated (NMI) provides payments enablement technology that empowers ISOs, VARs, ISVs and payment facilitators to offer branded payment gateway services without building or maintaining their own technology. NMI software engineers have built a security-focused, feature-rich, omni-channel payment gateway platform that partners can brand—completely and transparently—so that NMI doesn’t appear in their customer views. With Headquarters in Roselle, Illinois, NMI is the operating trade name of Network Merchants, LLC.
Chargent Payment Processing for Salesforce already has a connection to NMI, giving you the ability to manage and send transactions to NMI from Salesforce. The integration connects the NMI payment gateway directly to your customer records in Salesforce.
Prior to setting up NMI in Salesforce
- Install both the Chargent Base Package and the Transaction Package (Chargent Orders) into your Salesforce org.
- Configure Chargent according to the Installation and Setup Guide.
For Chargent versions prior to 5.57 you may need to activate the Remote Site Settings in Salesforce if they aren’t already active for Network Merchants.
- Click the gear icon on the top right and select Settings
- Under Security select Remote Site Settings
- Locate Network Merchants (NMI) and click edit
- Check the Active box
- Click Save
Configuring NMI for Integration
In this section and the next, you’ll find the procedures for configuring the integrations for both NMI and Salesforce. It’s important to follow each of the steps carefully, and in the correct order.
As shown in the NMI documentation, credentials are available for testing your integration. You can get your own sandbox by requesting one, or use the general username and password:
- Test username: demo
- Test password: password
You’ll also want to contact NMI to obtain a merchant account and get credentials for a production account. Many payment companies resell NMI as their payment gateway, so you may also receive credentials from an NMI partner.
It’s essential that you get these credentials for the production account:
- Username, from your enrollment email message
- Password, from your enrollment email message
NOTE: You must obtain these gateway credentials from NMI before moving on to the steps in the next section, Setting Up Salesforce For Integration
Follow these instructions for configuring NMI for integration with Salesforce:
NMI Sandbox
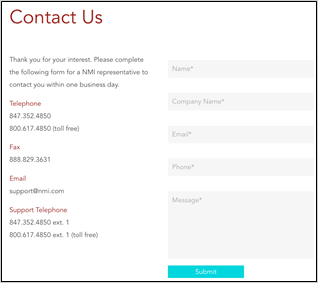
- If you don’t already have one, you can request an NMI sandbox account for their Direct Post eCommerce integration at the NMI Contact Form.
- You will receive email communications from NMI Support, and they will provide you with the credentials in the list above.
Setting up NMI in Salesforce
Add a NMI Gateway record in Salesforce using Chargent’s Gateway Wizard.
- Click on the App Launcher on the top left side in Salesforce.
- Select Chargent as the App
- Select the Chargent Settings Tab
- Choose Chargent Setup Wizard
- Do you have a Payment Gateway account – Select Yes
- Select Network Merchants as your Payment Gateway.
- Select Test Transactions for testing or Live Transactions if you are looking to process real payments.
- Follow the prompts to configure your gateway.
You will need the following information:
- Add your credentials based on your Sandbox (Test) or Production Live NMI account.
-
- Username: This is your Network Merchants Username
- Password: This will be your Network Merchants Password
Other information that will be asked:
- Use Tokenization? (Recommended)
- What currency will you be using? (USD, CAD, etc..)
- What payment methods will you be accepting?
- Credit cards and/or ACH (electronic check)
-
- What Credit Card types will you be accepting? (Visa, Mastercard, etc…)
- Payment Console Setup (Premium feature for Platform Edition)
-
- Show Charge Button
- Show / Create Update Token Button
- Show Authorize Button
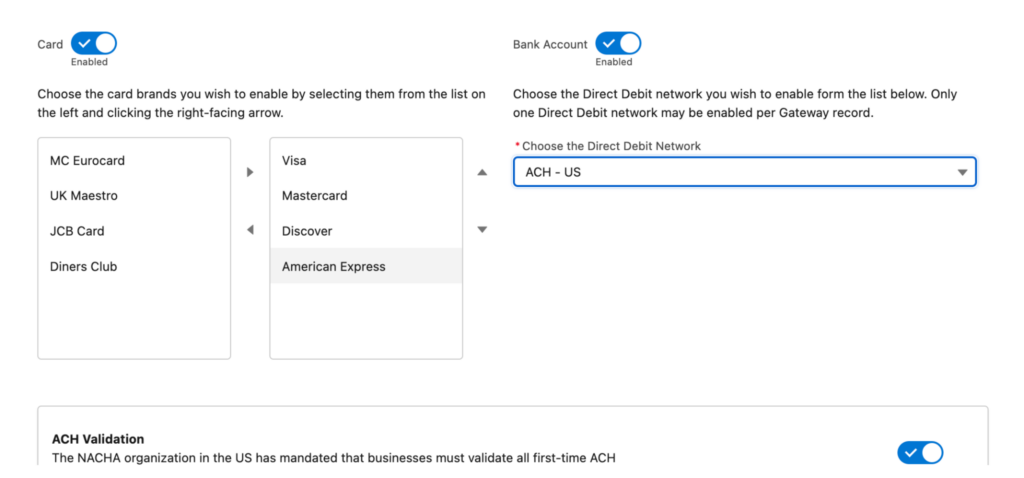
Direct Debit Network
Starting with Chargent version 6.15, you can now select the Bank Account network for your region during the gateway setup process. Authorize.net uses the ACH Network. This will allow for the correct Direct Debit Network fields to be displayed on Payment Requests and Payment Console based on your region.
You should choose ACH – US as the network. ACH is also known as echeck or electronic check.
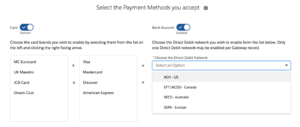
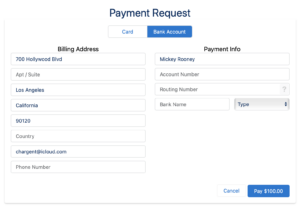
Once you have your Direct Debit Network set, you will see the appropriate field names on your Payment Request that are sent as well as your internal Payment Console.
Testing using Chargent Anywhere
Testing with Payment Console
To test using the Payment Console, you want to navigate to any record in your Sandbox that has the Chargent Anywhere Component enabled.
- Click the [PaymentConsole] button
- If you are using multiple gateways select your gateway from the dropdown otherwise continue to step 3
- Enter all the Billing Information and click [Next]
- Enter in a test credit card number, expiration date, and CVC code based on the NMI Test Credit Cards or ACH test bank numbers below.
- Click the [Charge] button.
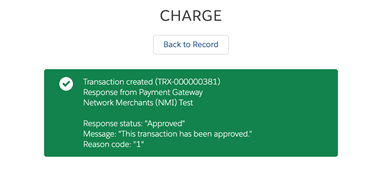
You should receive a green box showing Approved.
Testing using Payment Request
To test using a Payment Request you want to be sure you have the Chargent Payment Request feature set up as outlined in our documentation.
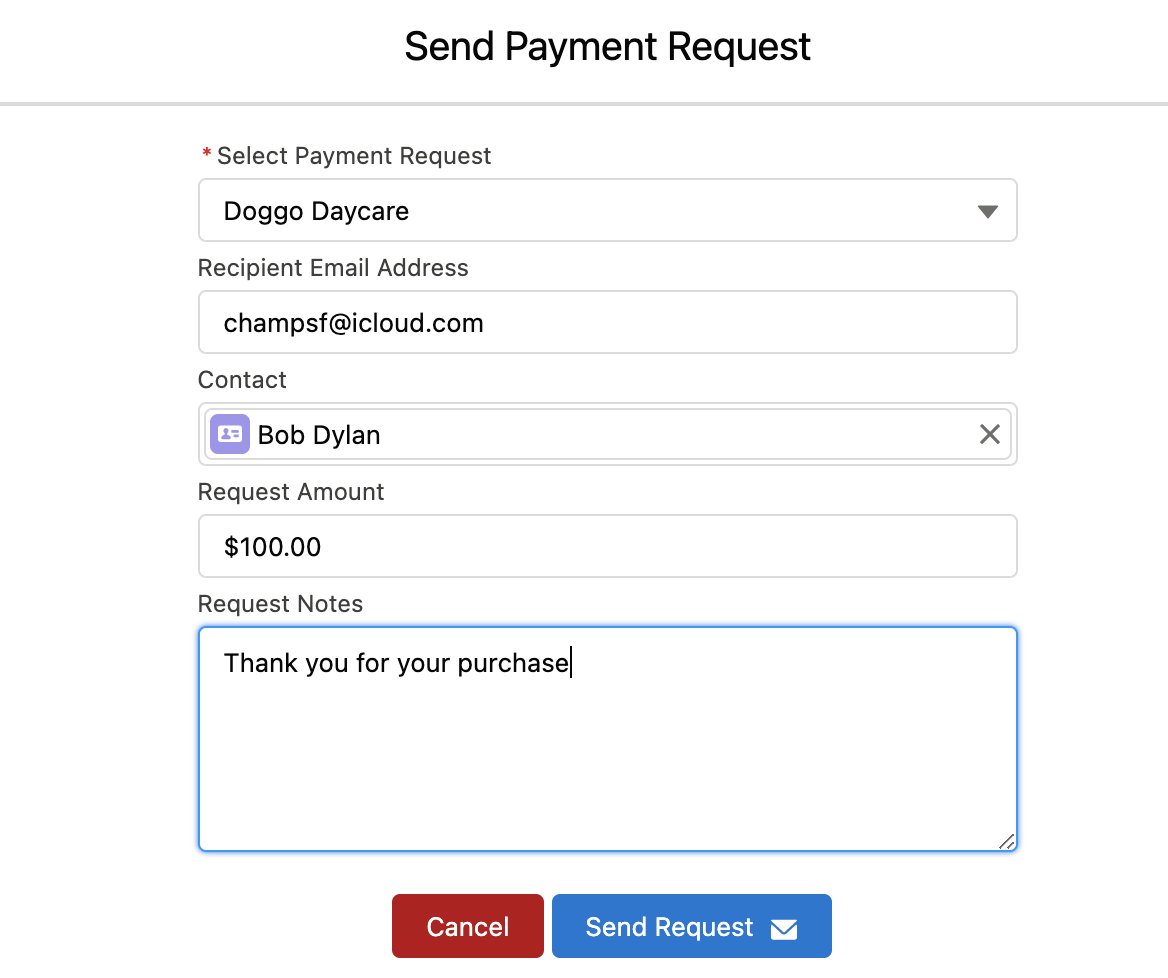
- Click the [Send Payment Request] button
- If you have multiple Payment Request templates set up you will first choose what template you want to use.
- Enter an email address where you want to send the test Payment Request along with any amount.
- Enter a Contact name (Optional)
- Click the [Send Request] button
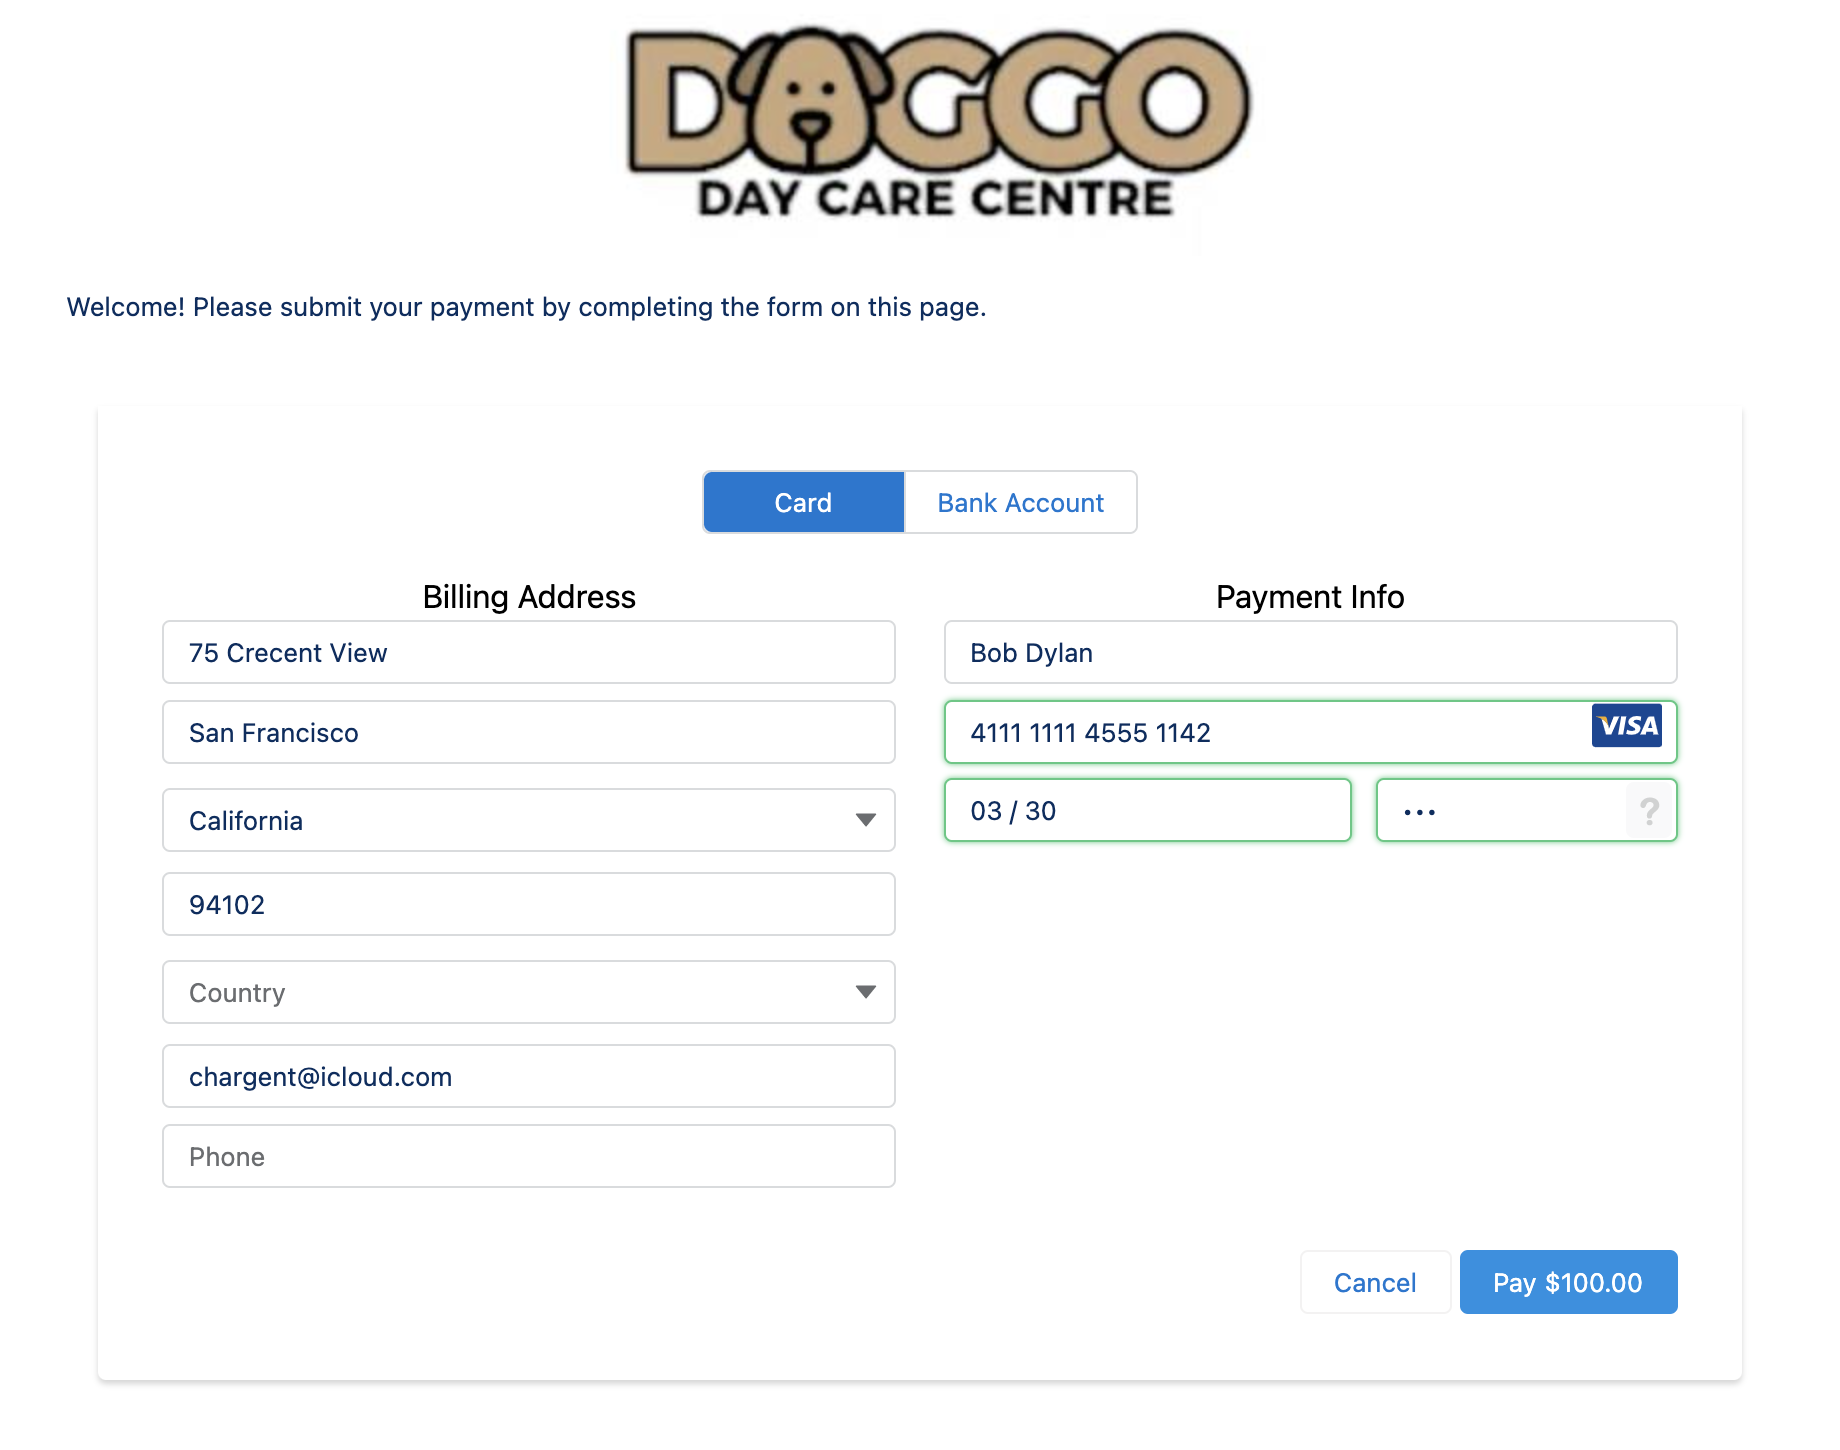
When you receive the email, click the secure link for the Payment Request. Use one of NMI’s test credit cards or ACH test bank numbers to complete the payform and submit the payment.
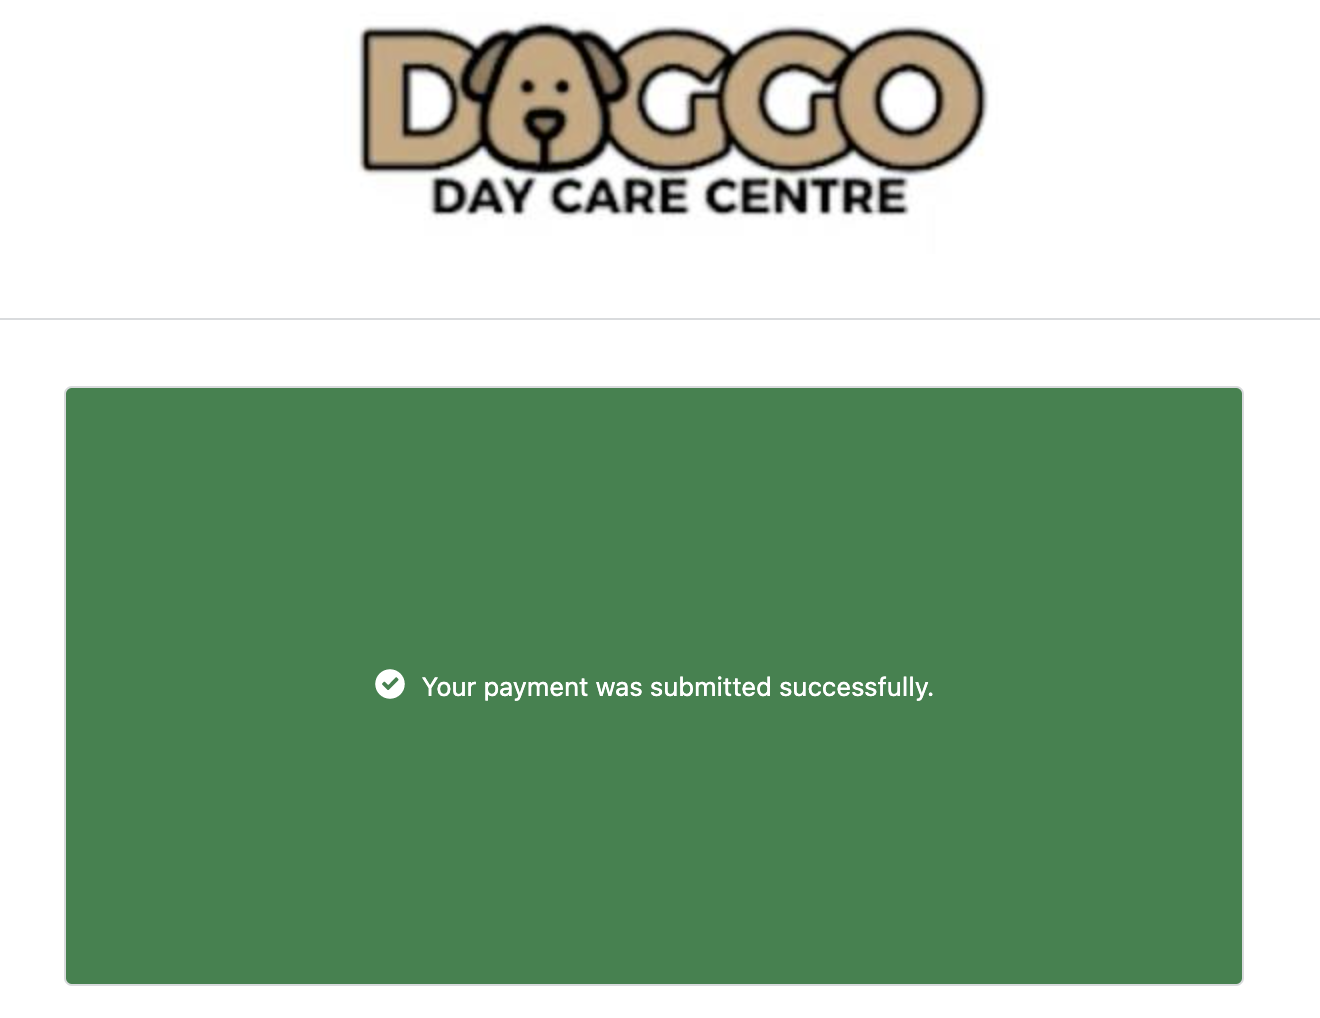
You should receive a green box confirmation
Network Merchant Test Credit Cards
| Credit Card Type | Credit Card Number |
| MasterCard | 5126870832570869 |
| MasterCard (BIN 2) | 2223000010089800 |
| MasterCard (Debit) | 5457350076543210 |
| Visa | 4563648800001007 |
| Visa (Debit) | 4921818425002311 |
| Maestro (19 Digit) | 6771771771771771774 |
| Diners | 536206300000099 |
| Diners (19 Digit) | 3607050000000000065 |
| Discover | 6544440044440046 |
| Amex | 374245001721009 |
| JCB | 3569990010082211 |
ACH
You can also submit ACH transaction with the test routing and account numbers:
| Routing Number | Account Number |
| 123123123 | 123123123 |
ACH Validation
The ACH Validation feature works with Lyon’s ACH Validation service to validate the bank account, and store the validation in your Salesforce Org. During your Gateway Setup you will authenticate your Lyon’s credentials and Chargent uses a referral relationship for all first-time transactions.
If you are not using Lyon’s ACH Verification you want to disable this.
If you are using Lyon’s ACH Validation you will enter the following credentials.
- Company ID
- Username
- Password
Note: If you are testing in a Salesforce Sandbox or Developer account, you want to be sure to check the ‘Test Transactions Only’ box.
- Enabled: this setting will enable or disable the ACH Validation.
- Company Id: The company Id in Lyons validation.
- Username: Username to log in Lyons validation.
- Password: Password to log in Lyons validation.
- Test Transactions Only: If this setting is checked, you will send all validations, through a test gateway.
In case you decide to turn off ACH Validation, you will see this warning message.

On the other hand, when you edit the gateway, in “Advanced Settings” you will see this new checkbox, Allow “No-Hit” Transactions.

A “no hit” ACH Validation Response is neither positive or negative. It indicates that ACH validation couldn’t be completed as this account is not listed in the reference database at this time.
On failure validation you will receive this message

New Behavior
NACHA validation, when enabled and correctly configured, applies to all Orders with Bank Account payment method and ACH as Bank Account type in the related gateway.
The only exception to the above mentioned rule is for orders with already-approved transactions, with the same Account Number last 4; these Bank Accounts are treated valid without using the Lyons service.
In case that there was an error from Lyons service the transaction will continue as usual but this Bank Account will try to get validated again on the next transaction.
If the transaction doesn’t count with the necessary information to get validated because of the tokenization will count as a valid transaction, without the ACH validation
Address Verification Testing
The values table below can be used to test all possible NMI AVS responses. The combination of the Street Address and Zip Code in the request will generate the associated AVS Result Code in the response.
| AVS Result Code | AVS Result Definition |
| X | Exact match, 9-character numeric ZIP |
| Y | Exact match, 5-character numeric ZIP |
| D | Exact match, 5-character numeric ZIP |
| M | Exact match, 5-character numeric ZIP |
| A | Address match only |
| B | Address match only |
| W | 9-character numeric ZIP match only |
| Z | 5-character ZIP match only |
| P | 5-character ZIP match only |
| L | 5-character ZIP match only |
| N | No address or ZIP match only |
| C | No address or ZIP match onlytd> |
| U | Address unavailable |
| G | Non-U.S. issuer does not participate |
| I | Non-U.S. issuer does not participate |
| R | Issuer system unavailable |
| E | Not a mail/phone order |
| S | Service not supported |
| O | AVS not available |
| B | AVS not available |
CVV Codes
The table below lists the NMI responses codes for testing CVV, CVC, and CID-which is the 3- or 4-digit code printed on the back of a card. This security feature assists merchants in processing a Card-Not-Present transaction, and receiving a positive response improves the likelihood that the cardholder making the purchase is in physical possession of the card. Visa, MC, and Discover encode a 3-digit value on their cards, which American Express encodes either a 3- or 4-digit value. Sending one of the following CVV/CVC values will return the corresponding result code:
| AVS Result Code | AVS Result Definition |
| M | CVV2/CVC2 match |
| N | CVV2/CVC2 match |
| P | Not processed |
| S | Merchant has indicated that CVV2/CVC2 is not present on card |
| U | Issuer is not certified and/or has not provided Visa encryption keys |
Error Testing
- To generate a declined transaction, pass an amount that is less than 1.00.
- To trigger a fatal error message, pass an invalid card number.
- To simulate an AVS match, pass 888 in the address1 field, 77777 for zip.
-
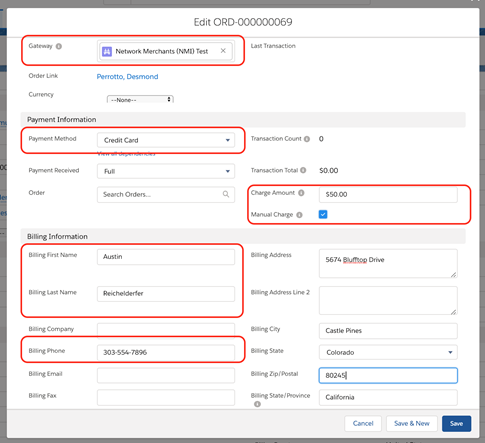
- See the figure below for the placement of these fields
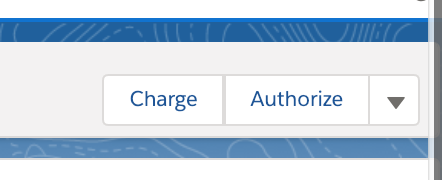
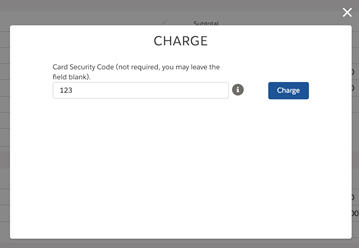
- Click the Save button to commit the changes on the form. On the next page, click the Charge button (as shown below).
- Enter the CVV (Credit Card Verification Code)
- To simulate a CVV match, pass 999 in the cvv field.
- To simulate a CVV match, pass 999 in the cvv field.
- When the transaction is complete, you see a small pop-up as shown in this figure. Click the OK button to close the pop-up window, then scroll to the bottom of the Order page.
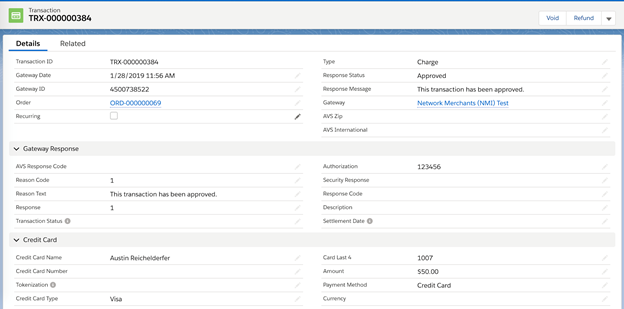
- A record is created for each error and each successful transaction, and this record contains the response messages and details that are sent back from NMI. See the figure below for an example.
- See the figure below for the placement of these fields
Sending Live Transactions from a Salesforce Sandbox
When Chargent is installed in a Salesforce Sandbox, transactions are typically sent to the payment gateway’s test / sandbox / development environment, regardless of whether Chargent’s Test Endpoint checkbox is checked. This is done as a security precaution, to prevent real transactions from being accidentally sent from a Salesforce Sandbox.
When Chargent is installed in a production or developer Salesforce org, checking the Test Endpoint checkbox on the Gateway record will route transactions to the test environments provided by the gateway.
Note: Some gateways use the same endpoint for live and test environments. For these gateways, the Chargent application does not prevent live transaction processing. As such, it is best practice to deactivate your live gateway records in orgs used for testing.
If you wish to send live transactions from a Salesforce Sandbox, as a final step in testing, simply use Chargent’s Endpoint Override field on the Gateway record, and enter the production endpoint of your chosen gateway there.
Here is the production endpoint URL for Chargent’s integration with NMI:
https://secure.nmi.com/api/transact.php
Note that the full endpoint URL must be entered in the Endpoint Override field, and the domain must be present in the Remote Site Settings (for standard Chargent integrations it should be already present).
Understanding Transactions
When a transaction occurs between Chargent and the NMI gateway, a new transaction record is created. The listing of transactions can be found in the Transaction section near the bottom of the Chargent Order page in Salesforce. See the figure above.
Click a Transaction ID link to see the details of the transaction record, as shown in the figure below. This transaction record contains the entire set of data that NMI sends in its response, including transaction Type (Charge, Authorize, Refund or Void), the Response Status (Approved, Declined, Error).
The Gateway Date is the timestamp for the submission to NMI, and the Gateway ID field corresponds to the NMI Transaction ID for use in reconciliation between two systems.
Confirming the transactions with NMI
You can compare the transactions in Salesforce with your NMI administrative app to search for transactions and generate reports.
Access your NMI administrative test account information to view your test transactions and generate reports, if necessary.
Search for transactions
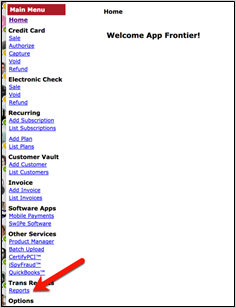
Login to your test account using the test username and password. Then, as shown in the figure, click the Reports item in the menu on the left
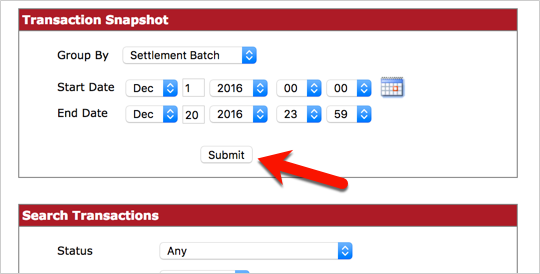
In the Reports page, choose a Group By category, then choose a Start Date and End Date, and then click the Submit button.
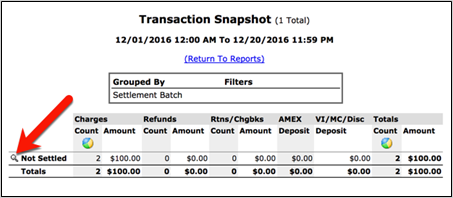
On the Transaction Snapshot page, you’ll find a listing of test transactions matching the date/group criteria from the previous step.
As shown in the figure above, click the small spyglass icon on the line containing the transaction you want to inspect, and then click View these Transactions.
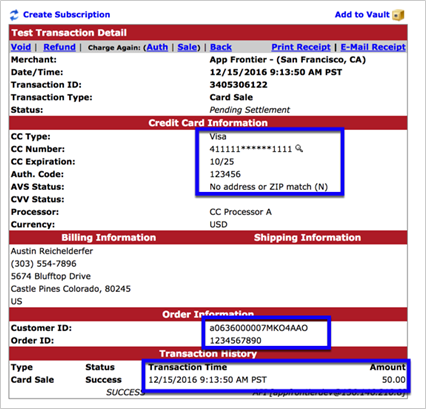
Click the ID of the transaction you want to inspect to view its details, as shown in the figure below.
| Chargent Field | Salesforce Object | Direction | NMI Field |
|---|---|---|---|
| Gateway ID | Transaction | > | Transaction ID |
| Token | Chargent Order | < | Customer Vault ID |
| Invoice Number | Chargent Order | > | Invoice Number |
| Order Information | Chargent Order | > | Description |
| Billing First Name / Billing Last Name | Chargent Order | > | First Name / Last Name |
| Billing Company | Chargent Order | > | Company |
| Billing Address / Billing Address 2 | Chargent Order | > | Address 1 / Address 2 |
| Billing State / Province | Chargent Order | > | State |
| Billing Zip Code / Postal Code | Chargent Order | > | Zip |
| Billing Country | Chargent Order | > | Country |
| Billing Phone Number | Chargent Order | > | Phone |
| Billing Fax Number | Chargent Order | > | Fax |
| Billing Email Address | Chargent Order | > | |
| Tax | Chargent Order | > | Tax |
| Shipping | Chargent Order | > | Shipping |
Going Live
This section contains the procedure for configuring the integration in a production system.
- First, obtain the production credentials for the NMI production gateway account (the productions credentials from Configuring NMI for Integration).
- As given previously, the credentials include the following:
- Username, from your enrollment email message
- Password, from your enrollment email message
- Repeat the steps in the Gateway Setup section above, but substitute the production credentials.
- Repeat the steps in the Testing the Integration section above with respect to the SalesForce production environment, using the production credentials.NOTE: Remember to void the transaction after testing, if you are using a real credit card and want to prevent the charge from settling.
- Be sure to successfully transmit at least one real credit card transaction and one real ACH transaction-using company or personal accounts. We recommend that you submit a transaction with a very small amount and then voiding that transaction afterwards.
Tokenization
Chargent supports NMI Token Payments, which allows you to securely store your customer’s account number and other cardholder data with NMI, and use an associated token in Salesforce for future payments.
PCI compliance scope is reduced since you are not storing the credit card numbers in Salesforce.
You can enable NMI Token Payments manually if you didn’t already select that option when you initially set up your NMI gateway.
- Go to the App Launcher and search for the Gateway Object.
- Select the Gateway Object and the NMI gateway.
- Click Edit and set the following.
- Click Advanced Settings
- Check the Use Tokenization checkbox in the Chargent Gateway record you have set up for Fat Zebra
- Set the Credit Card Handling field to Clear When Token is Present
The NMI token is stored in Chargent’s Token field in Salesforce after your first successful transaction, and the credit card fields are handled as you specified in the preceding step.

