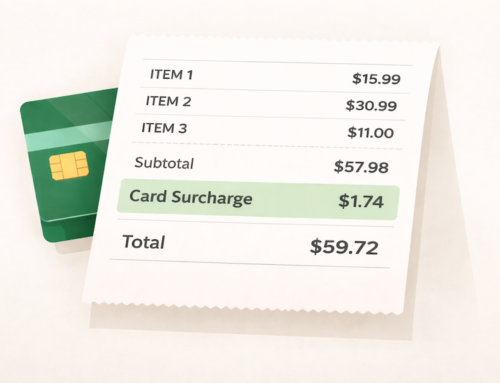
Why use Chargent’s Take Payments feature with your Salesforce Community? The Take Payments feature can lower the volume of payments taken by phone or sending invoices, and allow your customers to login to make their own payments. Enabling self-service payments frees up valuable time so your team can focus on important business goals.
Take Payments is available on Chargent’s Platform or Enterprise edition and requires a Salesforce Community License.
In order to do the configuration, we are going to need the following:
- A lookup field for the Chargent Order
- A custom currency field for Charge Amount.
- Your Gateway record ID.
You can also create a lookup to your billing contact record however it’s not required to configure your Community Page to take payments.
Today, let’s use the Account record.
Payment Setup Steps
Step 1
Create the custom fields and copy the field names. These will be used later during the setup. Remember, for the Chargent Order Lookup field, the data type should be Lookup Relationship. For the Charge Amount field, the data type would be Currency.
If you aren’t familiar with creating custom fields in Salesforce, you should check out the Salesforce Trailhead “Work with Standard and Custom Fields”
Step 2
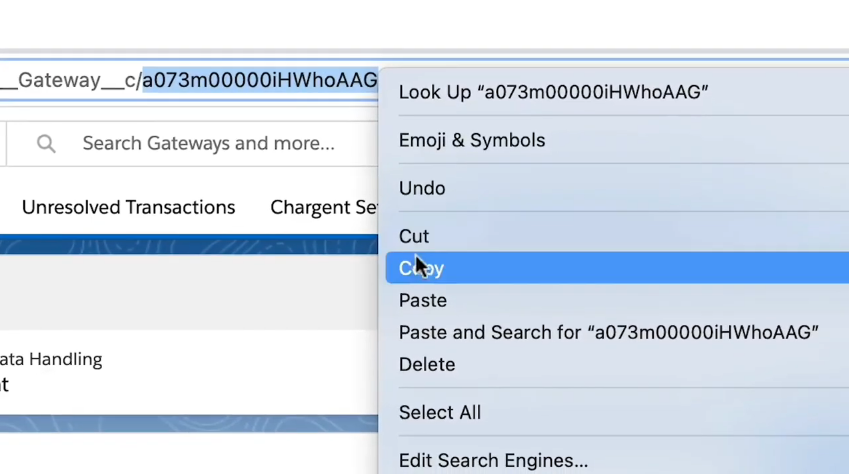
Copy the Gateway Record ID. Use the App Launcher to search and select Gateways. When you click on the Gateway that you want to use, the record ID will be in the URL. Let’s copy that and paste it for later when we configure the Community page.
Step 3
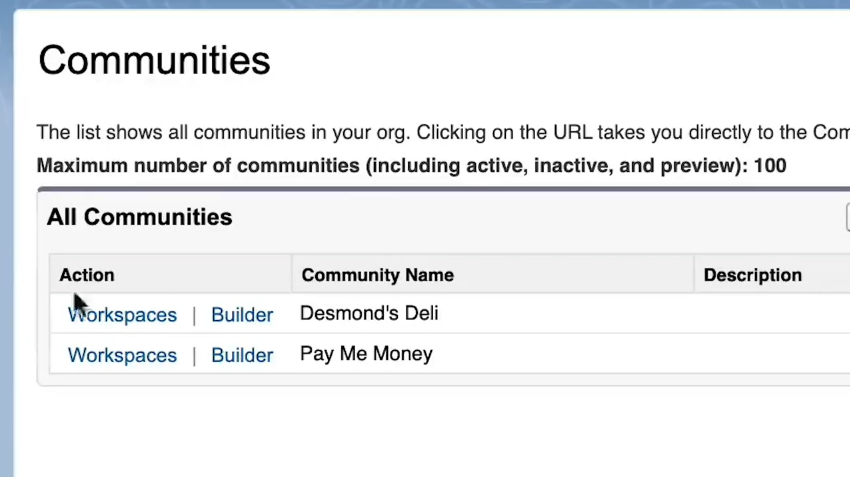
Add the Take Payment Lightning Web Component to your Community Page. Click the gear icon and choose Setup. Search the Quick Find for Communities and choose All Communities. If you don’t see any communities, you will need to create one before we proceed. You want to click the link to the Builder next to your Community Name to access the details.
Once you are in the builder you can click the Home dropdown menu at the top. Navigate to the Page Detail which will pull up an existing Account record.
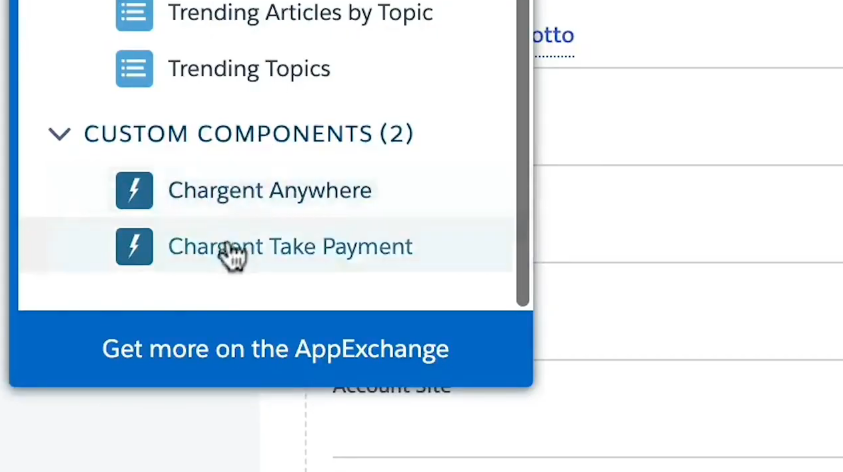
Click the Lightning Bolt to bring up the Salesforce Lightning Web Components. If you scroll to the bottom you will see the Custom Components. Drag the Chargent Take Payments into the page. You will now see the pop-up to add the Gateway ID and Field Names.
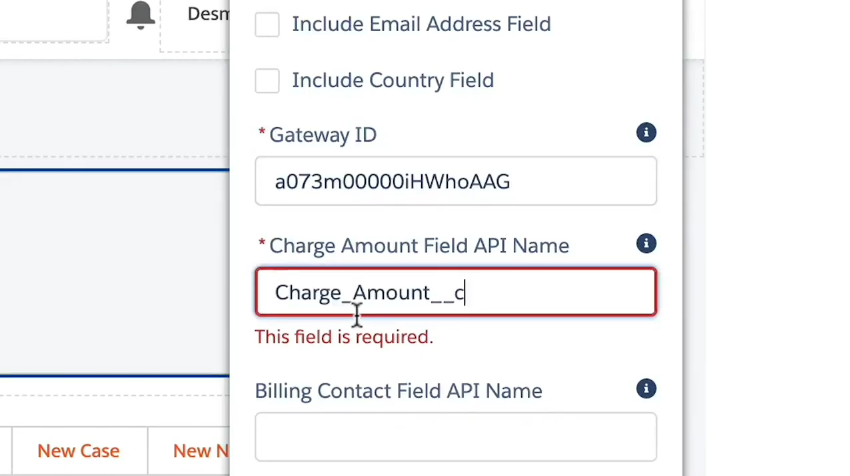
Step 4
Configure the Component by pasting in the Gateway Record ID and the Field Names we copied earlier. You can also change the name of the page, along with Bank Account and Bank Number. For example, if you are in Australia you may want the Bank Number to read BSB Number and if you are in the US you will most likely want it to read Routing Number.
Step 5
Test and Publish the page. When you are finished updating the Field Names, you can click the Preview button to see how it looks and test it. You should use the Test Credit Card information specific to your payment gateway. If the transaction is successful you will receive a green check mark showing that the Transaction was approved.
You should also test by going to your Community Site URL and logging in as a user (remember, you have permissions as the System Administrator that others do not!). To do this you may first need to configure the Permissions based on the User Profile and grant access to the Community. Testing thoroughly will ensure your customers have the best community experience.
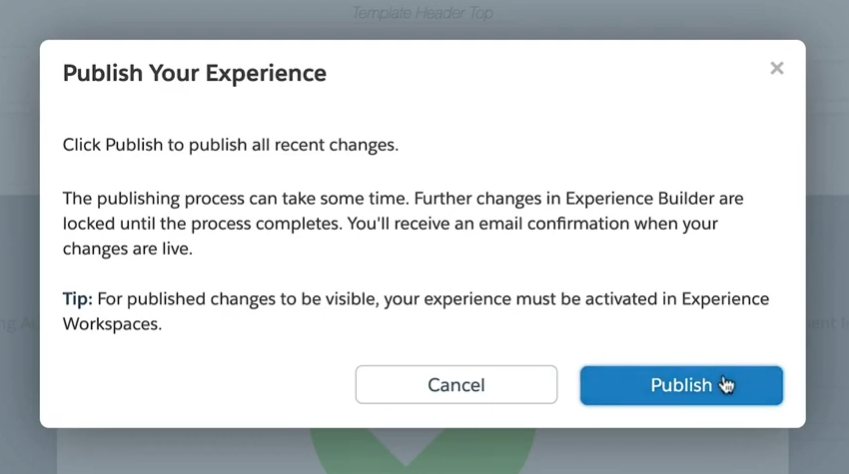
When you are done testing, and everything is processing correctly, click the Publish button to push the updates to your Communities Page.
That’s it! You are now set up to take payments through the Salesforce Community page.
Getting Started with Chargent
Chargent offers companies a simple but powerful solution for taking online payments and customer relationship management in Salesforce Communities. We work diligently to provide the payment features that bring more functionality to your community. Do you have questions about how to set up payments in your Salesforce Community? As always, we are ready to help, contact our experts!